
BAKE YOUR OWN SOURDOUGH AT HOME, PICK UP SOME STARTER FOR FREE WHEN YOU PURCHASE SOMETHING FROM US!! SCROLL DOWN TO LEARN HOW TO FEED YOUR STARTER.
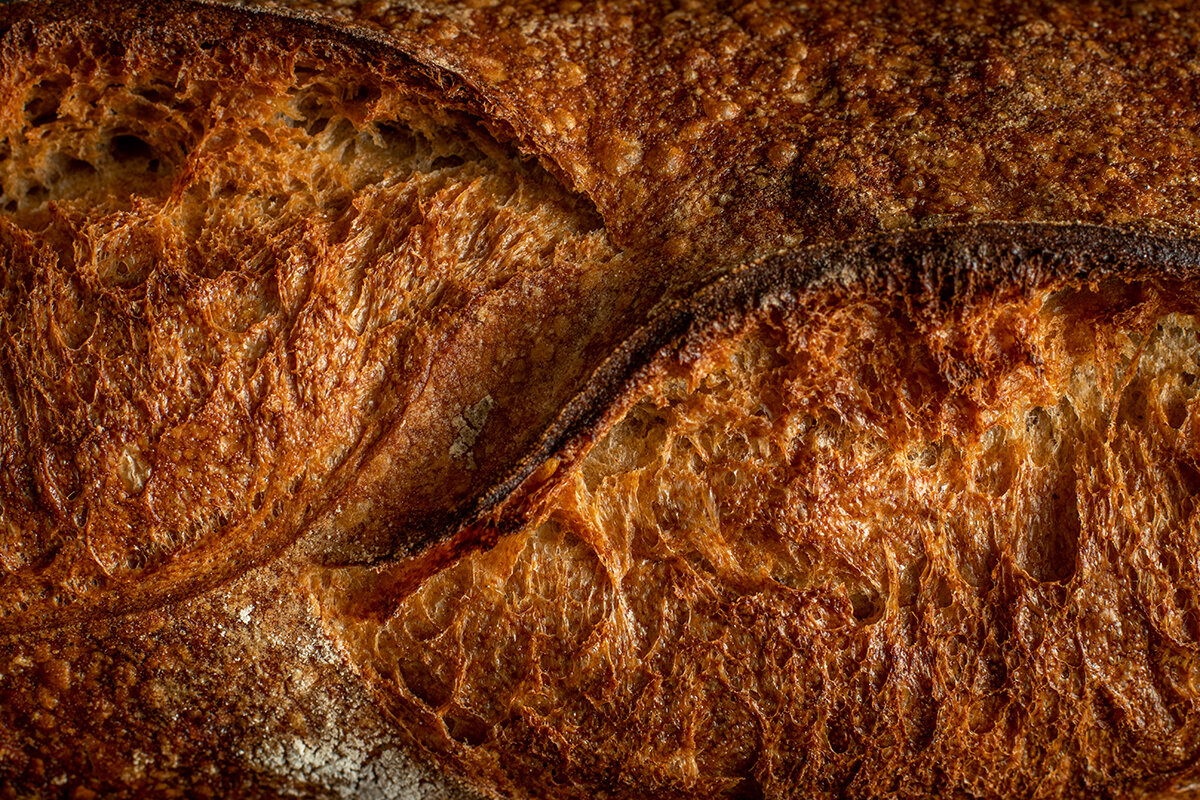
Recipe for: Country Sourdough
By Zack Hall
Baker/Owner of Clark Street Bread
The country loaf is as simple and complex as they come. Minimal ingredients, but a method that can be worked on and refined over a lifetime.
Ingredients:
White flour
Whole wheat flour
Water
Salt
Equipment:
Scale
Mixing bowl
Thermometer
Dough scrape
Proofing basket/towel lined colander or bowl
Plastic bag
Mix your Levain (French for sourdough):
25g starter (pick it up at the bakery)
100g white flour (organic, unbleached)
25g whole wheat flour
125g water (room temp)
At about 78-80F your sourdough should take about 3 hours to become ready to use. If it is colder or your sourdough is without vigor it may take longer. One way to test it's readiness is called the "float test".
The float test:
The sourdough is "ready" when it passes the "float test". Take a small scoop (teaspoon, tablespoon, whatever) and drop it into a cup of water to see if it floats. If it floats you can proceed with recipe and mix your final dough. If it sinks, give it more time, put it in a warm spot and check back on it in a little bit. Do not mix your sourdough into your final dough until it passes the float test.
Final dough:
370g ap/white/sifted wheat flour
30g whole wheat
275g water (room temp)
10g salt
200g sourdough

Weigh out your flour first into one container. Next weigh out your water in a separate container.
(*A note on temperature: You want the dough to be 78F when you are finished mixing and water is one determining factor that will affect final temp. So, use a thermometer on the tap water. Write down what temp water you used, and if the final dough is too warm or too cold, adjust the water temp for next time with the target temp of 78F in mind.)
Next, pour your water into the mixing container you plan to use. To the water, add your 200g of levain (sourdough). Disperse the sourdough in the water (it should be floating). Once dispersed, add the flour and mix to incorporate. Once the flour is incorporated leave the dough to rest for 30 minutes without adding the salt. This is called the autolyse method. Autolyse allows the flour to absorb the water and develops dough strength. Set a timer and after thirty minutes add the salt (with a little water if the dough is stiff) and mix to combine. (When mixing I use a combination of "cutting" the dough between my fingers and folding the dough while turning the mixing bowl.)
Check the dough temp. You want it to be 78F. If it's too hot, chuck it in the fridge to cool it down (but don't forget about it.) And if it's too cold put it in a warm place.
Now, at 78F the dough should take about 3.5 hrs to finish it's first rise. Over the course of that time, fold the dough every 30-45 minutes to add strength. Folding means taking a piece of dough, stretching it until just before it tears, and folding it back down onto itself. By doing this the dough gets strength and the temperature gets evenly distributed. When folding, work your way around the mixing bowl until you have made a full rotation of the bowl. You should feel the dough becoming less extensible (stretchy) and more elastic (snap back-y) each time you go back to fold it. Once the dough has completed it's first rise it will have risen about 30% in volume. It's easiest to detect the increase in volume by allowing the dough to ferment in a clear plastic container with volume measurements on the side. (Alternatively, put a piece of masking tape to the dough line so you can judge yourself once the increase in volume has occurred.)
When it comes time to shape, dust your work surface (counter, cutting board, basically any flat surface) and turn the container over so the dough releases and falls onto the countertop.
At this point we will shape the dough into a boule or round by folding just as you did when the dough was in the container. Once you've made a full rotation of folds, flip the dough over (using a dough scraper or your hands) and slide/nudge/work into a circular shape.
(Shaping takes thousands of hours to get really good at, so do not get too frustrated. Alas, I know you will. I did.)
At this point grab a bowl big enough to hold the loaf (or better yet a colander/sieve) line it with a lint free/fuzz free kitchen towel/napkin and dust generously with flour. (Trick: using rice flour at this point helps prevent the dough from sticking better than wheat flour). Pick the loaf up and place it into the "basket" you've created, seam side down. (Those seems will become the top of the loaf once baked and open naturally as the dough expands, no scoring necessary).
I like to let the dough do it's second rise (also called proof) in the fridge. It allows you a greater window of time in which you can bake the loaf as well as adds flavor. So, stick the whole bowl/colander, kitchen towel loaf thing you got goin on into a plastic bag (to prevent the loaf from drying out or creating a "skin") and chuck it in the fridge any where from 12-24 hours, assuming your fridge works.
An hour before baking. Use a cast iron or ceramic pot (i.e. Le creuset, lodge, etc...) to bake your loaf in. One easy option is the combo cooker by Lodge (on amazon I think it's 30 bucks or so). Put the cast iron pot with lid in the oven, crank the oven to full whack, and allow to heat for one hour.
Remove your loaf from fridge. Dust with flour to avoid any stickiness. Keep oven gloves nearby. You are going to pull the iron pot out of the oven, set it on the stove top, and open it up. (Smoke may come out, it's hot!) Next, still wearing the gloves, turn out your dough from your proofing bowl/basket into your gloves. The loaf should not stick, if it does gently ease it out (aka panic time) and use more flour next time. Carefully place the loaf into the shallow side of the cast iron pot. Put lid back on and into the oven she goes! (Yay we're still alive! I'm here for ya!!)
Now, regroup yourself. You did it (almost). All that work and the payoff is not far off now. Reduce the oven temp to 500F and bake for 25 minutes. After 25 minutes remove the lid of the pot (carefull, steam will billow out) and allow to bake another 15 minutes. Adjust the oven temp to your taste. Maybe it needs to be 20 degrees cooler. Maybe it needs 5 minutes less time. Each oven is different. But, once done the loaf should be dark brown (think of an old leather trunk). Remove the pot, remove the loaf and allow to cool on a wire rack. Turn the oven off. Tap on the bottom of the loaf. It should sound hollow (like thud thud). This is a good audio sign that that loaf has been baked long enough. Allow to cool two hours before cutting. (Same concept as steak, it continues cooking after it comes off the heat.)
Well, that's about it. You did it. It's a longish process but the reward is tremendous and it becomes second nature (if you want it to). And, like the dude says, "sometimes you eat the bar, and sometimes the bar eats you". So, don't deter, have fun and #eatrealbread!!!!!

Clark Street Bread's Sourdough Starter
The following "recipe" describes the steps of creating or capturing a wild yeast (sourdough) starter and maintaining it. A sourdough starter is a mixture of flour and water that has been colonized by wild yeast. The yeast eat the flour and as a result produce CO2 and alcohol. Sourdough lends itself to making bread because the CO2 leavens the bread (naturally) and the alcohol adds strength and flavor. Other effects of sourdough bread, or bread made with a sourdough culture, are that it lasts longer, is easier to digest, makes nutrients more accessible and has a greater depth of flavor.
Ingredients:
100g organic whole wheat flour
100g organic white flour
200g water (~80F)
Equipment:
Digital scale (you'll be using grams. Everyone else in the world uses the metric system, and now, so do you.)
Clean plastic (or glass) container (weigh your container and write that number down)
Some sort of stirring utensil (I'd use a spoon)
Day 1: mix together ingredients until fully incorporated (I always add water first, then flour). Cover with breathable cloth (cheesecloth, napkin, etc...) and secure with twine or rubber band. Allow to sit out (at room temp) for 2 days.
Day 3: throw away half of mixture (~200g) and replace with 50g each whole wheat and white flours and 100g water (~80F). Stir to incorporate.
(*Note: Smell your starter at least once a day to see a) if any changes in smell are occurring and/or b) to get to know "where" in the fermentation process your starter is (a mild smelling starter will have been recently mixed while an acidic smelling one is probably due for another feeding).
Day 4 & 5: Repeat steps on day 3.
By day 5 your sourdough starter should be active. Meaning it is visually rising and falling (because of co2) and developing an acidic smell (alcohol) as it ferments after being fed.
Once active, feed with the following amounts daily:
100g organic white flour
25g organic whole wheat flour
125g water (~80F)
25g seed culture
If you forget to feed, don't worry. Just feed once you remember. Sourdough's are resilient and will not "die" easily. If you don't want to feed daily, keep sourdough starter in fridge. The more regularly you feed your starter, the more reliable it will be, the better flavor it will lend to your bread and the more strength it will have.
Have fun experimenting!